
Need to set an automatic reply in Outlook but don’t know where to start? I’ve got you covered! First I’ll explain to you what an automatic reply is. Second, I’ll show you how to set it up. I’ll also give you an idea of when an automatic reply can be useful.
What Is an Automatic Reply?
So what is an automatic reply? Well, it’s just what it sounds like. It is when someone emails you and they automatically get a reply. This is something you see if you send a ticket to customer service. You usually get an automatically prompted response saying “Thank you we’ve received your inquiry or your ticket”. You also get a ticket number to reference when contacting customer support.
This is also something you can use if you for example go on vacation. If someone sends you an email, they get a quick response that you’re currently out of the office. You can also specify the time when you’re going to come back.
Another example is if you have a shared mailbox at a company and you know that the response time will be longer for a few weeks. Then you can set an automatic reply explaining why the response time is longer. It provides a quick reply to the sender, and you don’t have to check your email if you’re away for a bit. These are just some things that you can use it for.
How to Set an Automatic Reply in Outlook
Now that you know what an automatic reply is, how do you set it up?
First of all, it depends on which version of Outlook you use. If you use the desktop version of Outlook, setting an automatic reply is almost the same as in the web application. The difference is where the setting is located.
OWA (Outlook Web Application)
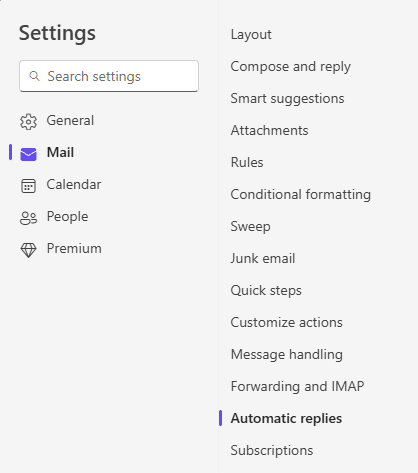
If you use the Outlook web application open your inbox then click the cogwheel at the top right.

Once you’re inside the settings go into automatic replies, which you find close to the bottom.
First, you need to do is turn on notifications. Move the toggle to turn it on. Then you can click a checkbox to send replies during only a time. If the message should only be sent between specific dates, add the start and end date and time. Then add the message you wish to be sent in the box below.
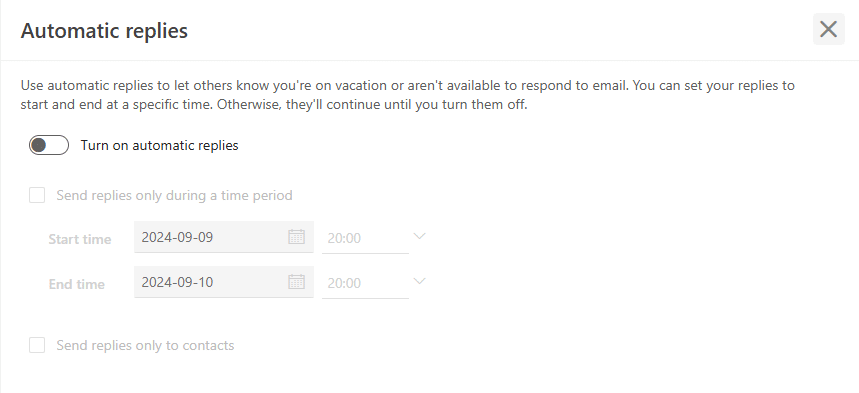
The last thing you can do is check a box that replies only to contacts. I advise against using this because if you use a shared mailbox or if you get emails from people outside your contact list, the replies won’t be sent.
OUTLOOK DESKTOP:
To set an automatic reply in the desktop version of Outlook, go to Files → Automatic reply. As in the web version you can choose intervals for when replies should be sent.

Note that when you set an automatic reply for out-of-office, this will be reflected in Teams as well. The benefit is you only need to set your out-of-office in one place.
Conclusion
Setting an automatic reply, regardless of which version of Outlook you use isn’t difficult. It can be a useful tool for you if you are out of the office and need to communicate this to people.
Are you using automatic replies already, or do you feel better equipped to try this out?
Related topics: