Today we look at how to get started using Screencast-o-Matic, what it is and how you can use this as part of your arsenal for work.
Living in a visually-oriented world means that you, as an educator, sometimes need to use video-based ways of communicating with your students. This was indeed a natural part of teaching during the first two years of Covid. But a video is relevant even when you’re back inside a normal classroom.
What Is Screencast-O-Matic?
Screencast-o-Matic is a screen recording and video editing software. You can use it from a browser window or as a desktop application. There are several times when having the ability to record your screen can be useful. Some things I use screen recording for include:
- Creating tutorials (long/short)
- A video as part of explaining an assignment.
- To pre-record a lecture to be viewed or shared with students who missed the lesson.
- Create your own YouTube videos
These are just a few things you can do, I’m sure you can think of more. Using the program is easy, and you don’t need to be an editor to get a decent video edited and ready to go live.
Desktop or Online Version?
To start using Screencast-o-Matic, you need an account. The account is free, but you get more functions if you use a paid subscription.
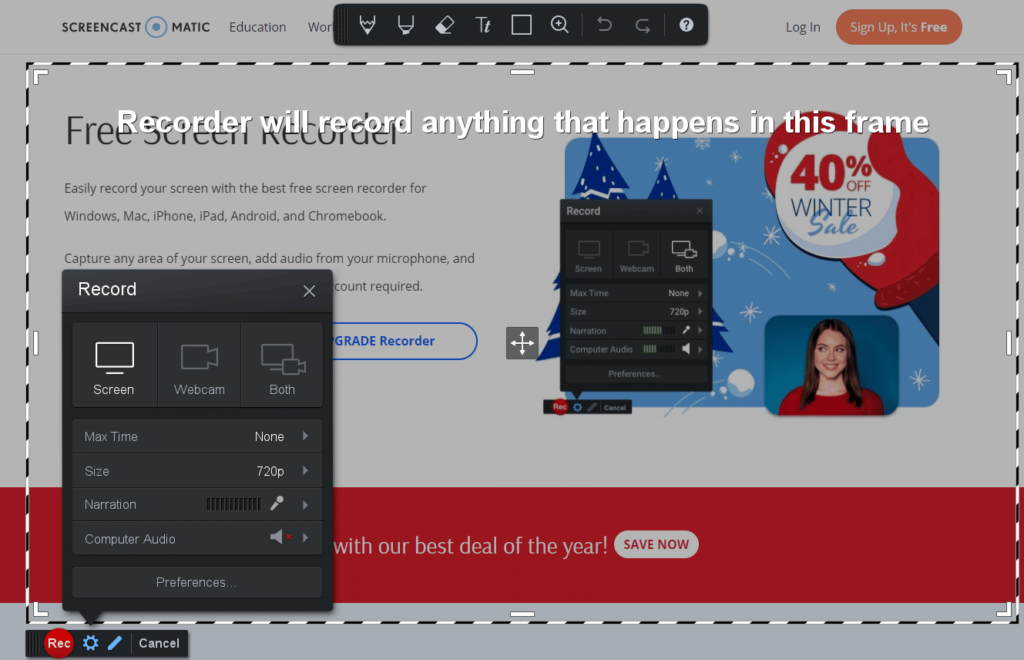
In both versions, you can pretty much start recording straight away. Adjust the size of the window you wish to capture, choose if you wish to include a camera of yourself or not, and hit record.
It’s also easy to upload straight to YouTube or Google Drive. You can also add captions to your video, making it even more informative and clear to understand.
Different Subscription Plans
On the free version, you won’t be able to remove the Screencast-o-Matic watermark from your videos. You also won’t have access to blur sensitive information, import images or other recordings into your video, or automatically remove silence to mention a few things.
You also miss out on the ability to use overlays and greenscreen. I can’t say I’ve used greenscreen in the software, but overlays can be useful when creating tutorials.
Another thing to note is that the maximum video length is 15 minutes in the free version. This may or may not be a problem for you, depending on what you do, but it’s good to know that a time limit exists.
The free version lets you capture narration, but in the more advanced plans, you can include computer audio as well. Even with the free version, you get access to stock music. But to gain access to the whole stock library you need a subscription.
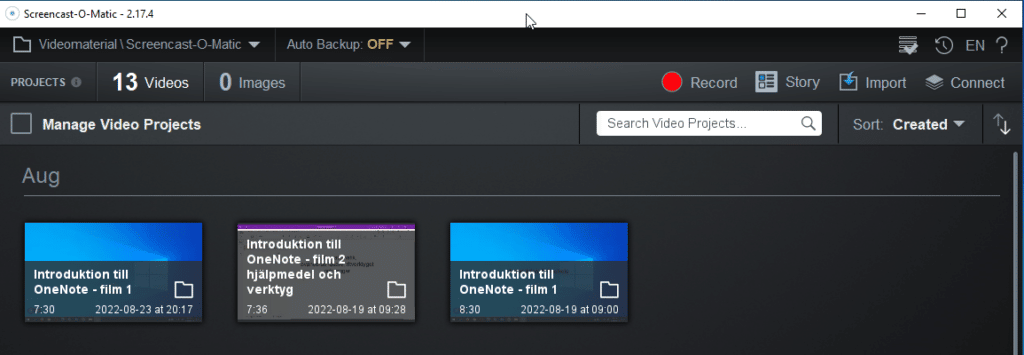
Keep in mind that you need to manually back up your video files if you use the free version. The auto backup feature is only available to the solo premier, solo max, and team business plans.
You can see a full overview of the different plans here.
How Easy Is It to Get Started With Screencast-O-Matic?
Getting started with Screencast-o-Matic is easy! What you need is an account, then you’re pretty much good to go. If you use the online version, you need to have internet access of course.
If you use the desktop version you have some more options in terms of editing, but the free tools are a good place to start your video journey.
Before your record, make sure to test that you capture your audio correctly.
Some Useful Tips Along the Way
If you create a tutorial video for students, make sure to both plan out the content you wish to present – but also give some thought to editing while planning your video. It may seem strange to think this through before you even record the actual video, but it might save you some time later on.
The better prepared you are, the smoother your video experience will be!
Another thing to keep in mind is to keep your original clips stored somewhere, and your project file saved separately. Why do this? Well, if you work with recording different parts of the video as separate clips and then insert them into your project for editing then you want to keep the original files somewhere.
This way, if you make a mistake in the edited version, you can always go back and use an unaltered version. If possible, avoid storing your video files just locally. Having a cloud backup is always a good thing!
Conclusion
It’s easy to get started using Screencast-o-Matic. If you just need to make a quick screen recording, then this could be a solid choice for you. For more advanced editing tools, then there are a few options out there with more power, but usually also at a higher price point.
Need to remove watermarks or want access to more editing tools, make sure to sign up for a subscription that fits your needs.
Have you tried using screen recordings when teaching students?
Resources
- Screencast-o-Matic
- Screencast-o-Matic video editor cheat sheet – see which tools are free and paid